Can you describe the process of installing RAM on a motherboard?
Installing RAM (Random Access Memory) on a motherboard is a straightforward process. Here’s a step-by-step guide:
- Prepare Your Workspace: Before you begin, ensure that you have a clean, well-lit workspace with ample room to maneuver. Turn off your computer and disconnect the power cable from the power supply unit (PSU).
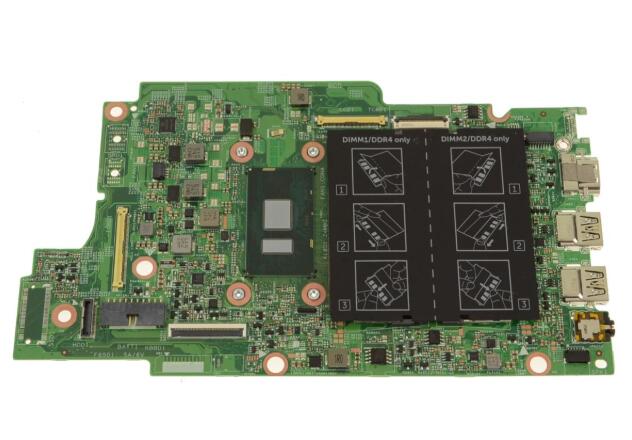
- Locate the RAM Slots: Identify the RAM slots on your motherboard. Most desktop motherboards have DIMM (Dual In-line Memory Module) slots, while laptop motherboards may have SO-DIMM (Small Outline DIMM) slots.
- Open the Retention Clips: On desktop motherboards, locate the retention clips at the ends of the RAM slots. These clips hold the RAM modules in place. Push down on the clips to open them.
- Align the Notch: Examine the RAM module to identify the notch on the bottom edge. This notch ensures proper alignment with the slot on the motherboard. Most RAM modules have a notch slightly off-center to prevent incorrect installation.
- Insert the RAM Module: Hold the RAM module by the edges, align the notch on the module with the notch on the RAM slot, and gently insert the module into the slot at a 45-degree angle.
- Apply Firm, Even Pressure: Once the module is properly aligned, press down evenly on both ends of the module until the retention clips snap into place and secure the module in the slot. You should hear a satisfying click when the module is fully seated.
- Repeat for Additional Modules: If you’re installing multiple RAM modules, repeat the process for each module, ensuring that they are installed in the correct slots according to your motherboard’s manual. Many motherboards have color-coded RAM slots to indicate which slots to populate first for dual-channel or quad-channel configurations.
- Close the Retention Clips: Once all the RAM modules are installed, gently push down on the retention clips at each end of the RAM slots to lock the modules securely in place.
- Verify Installation: After installing the RAM, double-check to ensure that all modules are securely seated in the slots and that the retention clips are fully engaged.
- Power On the Computer: Reconnect the power cable to the PSU and power on your computer. The motherboard should automatically detect the newly installed RAM modules during the POST (Power-On Self-Test) process.
- Check System Properties: Once the computer has booted into the operating system, you can check the system properties to verify that the installed RAM capacity is recognized correctly.
That’s it! You’ve successfully installed RAM on your motherboard. Adding or upgrading RAM is one of the easiest and most effective ways to improve system performance and multitasking capabilities.
About the author : motherboardworld
Related posts
Popular products
-
 00UP933 For Lenovo ThinkPad T540p System Board Motherboard
Original price was: $59.00.$39.00Current price is: $39.00.
00UP933 For Lenovo ThinkPad T540p System Board Motherboard
Original price was: $59.00.$39.00Current price is: $39.00.
-
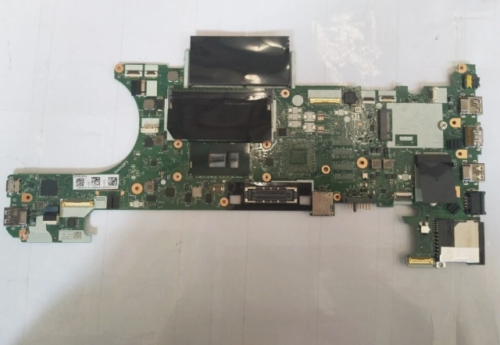 00UR445 i5-6300 For Lenovo ThinkPad T470P Laptop Motherboard
Original price was: $79.00.$59.00Current price is: $59.00.
00UR445 i5-6300 For Lenovo ThinkPad T470P Laptop Motherboard
Original price was: $79.00.$59.00Current price is: $59.00.
-
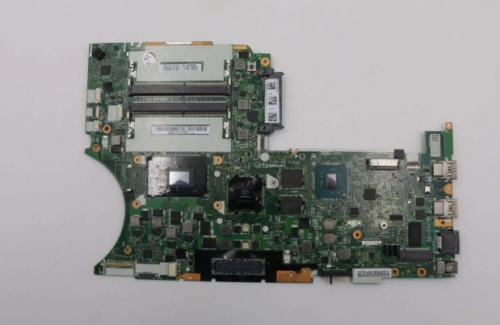 01LW047 Intel Core I7-7820hq For Lenovo ThinkPad T470p Motherboard
Original price was: $159.00.$139.00Current price is: $139.00.
01LW047 Intel Core I7-7820hq For Lenovo ThinkPad T470p Motherboard
Original price was: $159.00.$139.00Current price is: $139.00.
-
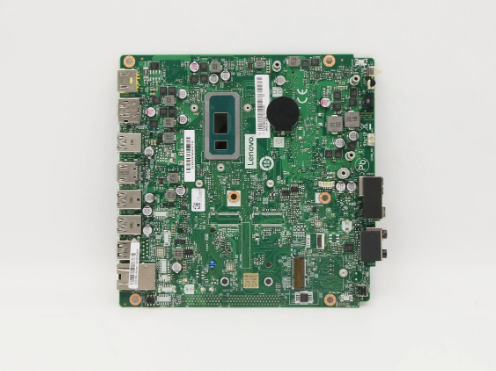 5B20U53908 5405U For Lenovo ThinkCentre M630e Desktop Motherboard
Original price was: $179.00.$159.00Current price is: $159.00.
5B20U53908 5405U For Lenovo ThinkCentre M630e Desktop Motherboard
Original price was: $179.00.$159.00Current price is: $159.00.