
How to test one motherboard to check it’s bad or good?
Testing a motherboard to determine whether it’s functioning properly or defective requires a systematic approach. Here’s a step-by-step guide to help you test a motherboard:
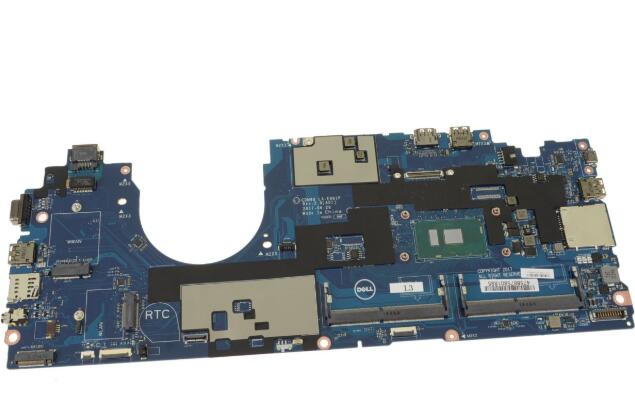
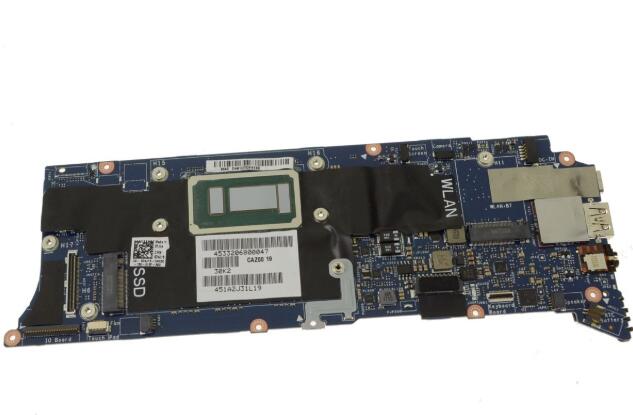
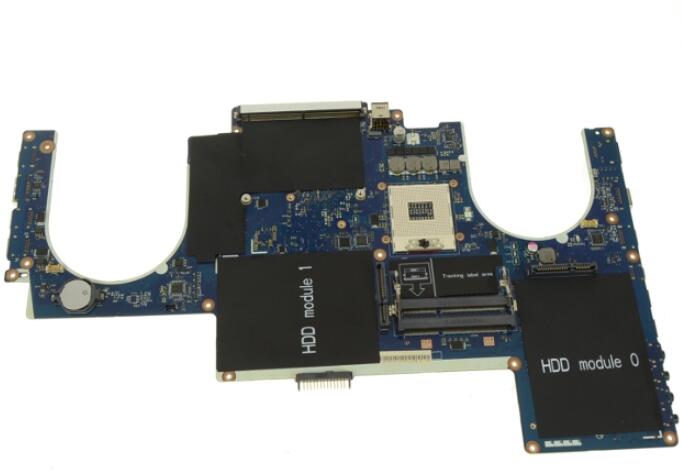
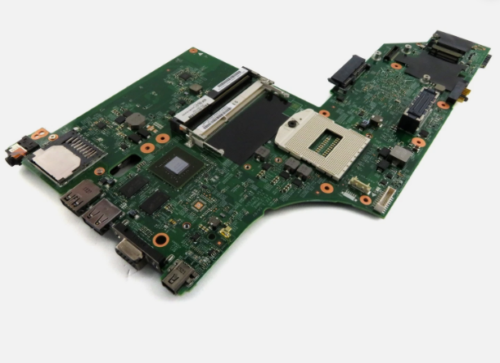
- Visual Inspection: Begin by visually inspecting the motherboard for any signs of physical damage, such as burnt components, bulging capacitors, or damaged traces. Check for loose screws, foreign objects, or debris that may be causing a short circuit.
- Check Power Supply: Ensure that the power supply unit (PSU) is functioning correctly and supplying sufficient power to the motherboard. Use a multimeter to test the voltage outputs of the PSU to verify that they meet the required specifications.
- Test Bench Setup: Set up a minimal test bench configuration outside the PC case. Install the motherboard on a non-conductive surface such as a cardboard box and connect only essential components: CPU, CPU cooler, one RAM module, graphics card (if onboard graphics are not available), and power supply connections.
- Power On: Connect the power supply to the motherboard and power it on. Check for signs of life, such as LED lights illuminating on the motherboard, fans spinning, and CPU cooler running. Listen for any beep codes emitted by the motherboard speaker, which can indicate POST (Power-On Self-Test) errors.
- Check POST Codes: If your motherboard features a POST code display or diagnostic LEDs, monitor them during the boot process. Note any error codes displayed, consult the motherboard manual to interpret the codes, and troubleshoot accordingly.
- Inspect CPU and Socket: Remove the CPU cooler and inspect the CPU and socket for any signs of damage, bent pins, or thermal paste spillage. Ensure that the CPU is properly seated in the socket, and reapply thermal paste if necessary.
- Test RAM: Test each RAM module individually by booting the system with one RAM module at a time. If the system fails to boot with a particular RAM module, it may be faulty or incompatible.
- Clear CMOS: Clear the CMOS settings by removing the CMOS battery from the motherboard for a few minutes or using the clear CMOS jumper. This resets the BIOS settings to default and can resolve certain configuration issues.
- Boot to BIOS: If the system boots successfully, enter the BIOS/UEFI setup utility and check for proper detection of hardware components. Verify that the CPU, RAM, storage devices, and other peripherals are recognized and configured correctly.
- Test Peripheral Ports: Connect a keyboard, mouse, monitor, and other peripherals to the motherboard’s ports and verify their functionality. Test USB ports, audio jacks, network interfaces, and expansion slots for proper operation.
- Run Diagnostic Software: Use diagnostic software such as MemTest86 for testing memory modules, Prime95 for stress testing the CPU, and FurMark for stress testing the GPU. Monitor system temperatures and stability during stress tests.
- Check for Stability: Run the system under normal operating conditions for an extended period to check for stability issues, crashes, or unexpected behavior. Monitor system logs and error messages for any indications of hardware failures or compatibility issues.
By following these steps, you can effectively test a motherboard to determine whether it’s functioning properly or exhibiting signs of defects or malfunctions. If you encounter persistent issues or are unsure about performing diagnostics yourself, consider seeking assistance from a professional technician or contacting the motherboard manufacturer’s support service for further guidance.
About the author : motherboardworld
Related posts
Popular products
-
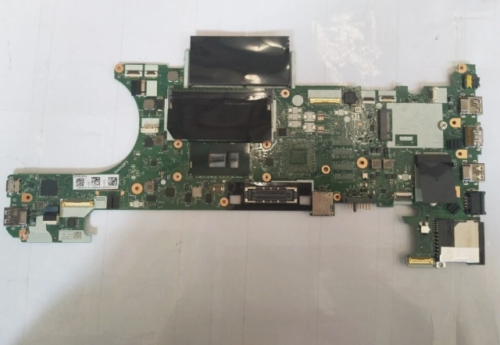
 00UP933 For Lenovo ThinkPad T540p System Board Motherboard
Original price was: $59.00.$39.00Current price is: $39.00.
00UP933 For Lenovo ThinkPad T540p System Board Motherboard
Original price was: $59.00.$39.00Current price is: $39.00.
-
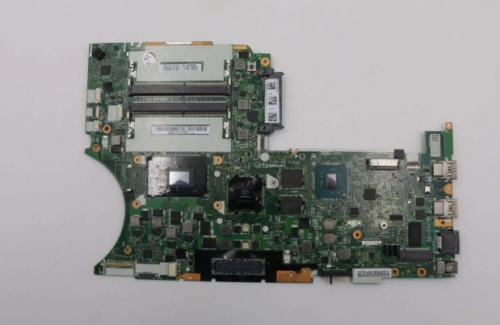
 00UR445 i5-6300 For Lenovo ThinkPad T470P Laptop Motherboard
Original price was: $79.00.$59.00Current price is: $59.00.
00UR445 i5-6300 For Lenovo ThinkPad T470P Laptop Motherboard
Original price was: $79.00.$59.00Current price is: $59.00.
-
 01LW047 Intel Core I7-7820hq For Lenovo ThinkPad T470p Motherboard
Original price was: $159.00.$139.00Current price is: $139.00.
01LW047 Intel Core I7-7820hq For Lenovo ThinkPad T470p Motherboard
Original price was: $159.00.$139.00Current price is: $139.00.
-
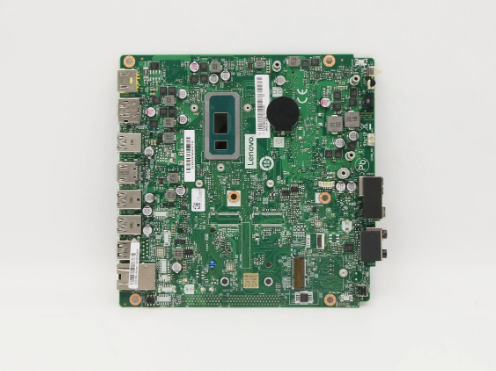 5B20U53908 5405U For Lenovo ThinkCentre M630e Desktop Motherboard
Original price was: $179.00.$159.00Current price is: $159.00.
5B20U53908 5405U For Lenovo ThinkCentre M630e Desktop Motherboard
Original price was: $179.00.$159.00Current price is: $159.00.