How would you troubleshoot a motherboard with no display issue?
Troubleshooting a motherboard with a no-display issue can be challenging, but here are some steps you can take to diagnose and potentially resolve the problem:
- Check Connections: Ensure that all cables and connections are securely plugged in, including the power supply cables, CPU power connector, RAM modules, graphics card (if applicable), and display cables (HDMI, DisplayPort, etc.). Loose connections can prevent the motherboard from powering on or displaying output.
- Test External Components: If possible, test the monitor, graphics card, and display cables with another computer to verify that they are functioning correctly. This helps rule out potential issues with the display setup.
- Reset CMOS: Clear the CMOS settings by removing the CMOS battery from the motherboard for a few minutes or using the clear CMOS jumper (refer to the motherboard manual for instructions). This resets the BIOS settings to default and can resolve certain configuration issues.
- Test with Minimal Hardware: Disconnect all non-essential components from the motherboard, including additional RAM modules, expansion cards, and peripherals. Leave only the CPU, one RAM module, and the graphics card (if applicable) connected. Test the system to see if it displays anything on the screen. If it does, gradually add back components until the issue reoccurs, identifying the problematic component.
- Check RAM: Reseat the RAM modules in their slots and try booting the system with each RAM module individually. Faulty RAM modules or improper seating can prevent the system from booting or displaying output.
- Test with Integrated Graphics: If your CPU has integrated graphics, remove the dedicated graphics card (if present) and connect the display directly to the motherboard’s video output ports. Test the system to see if it displays output using integrated graphics.
- Inspect CPU and Socket: Check the CPU and socket for any signs of damage, bent pins, or thermal paste spillage. Ensure that the CPU is properly seated in the socket and that the CPU cooler is securely attached and making proper contact with the CPU.
- Check Power Supply: Test the power supply unit (PSU) with a multimeter or use a known working PSU to see if the motherboard receives sufficient power. A faulty or insufficient power supply can prevent the system from booting or displaying output.
- Test with Another Motherboard: If possible, test the CPU, RAM, and graphics card on another compatible motherboard to determine if any of these components are causing the issue. Likewise, test the motherboard with known working components to isolate the problem.
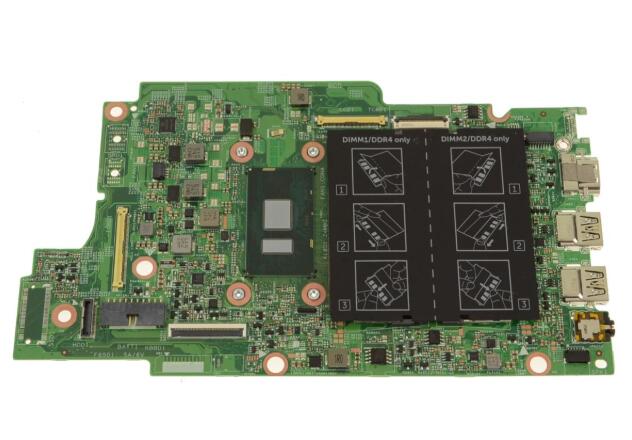
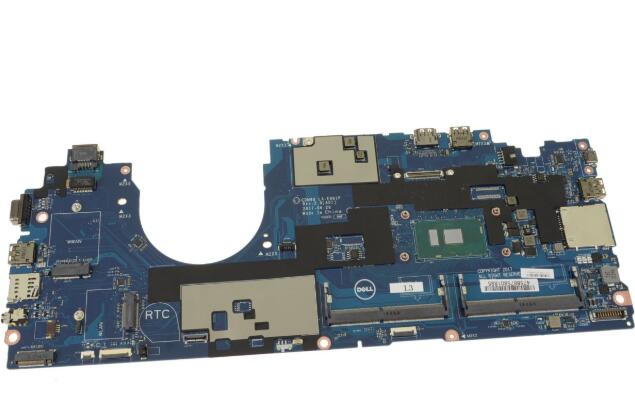
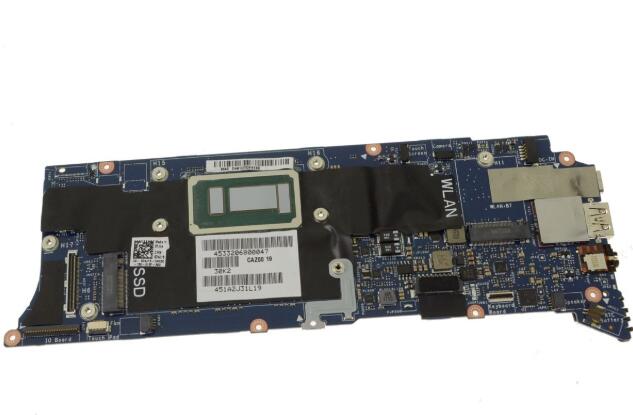
- Inspect Motherboard for Damage: Check the motherboard for any signs of physical damage, such as burnt components, bulging capacitors, or damaged traces. Inspect the motherboard for any obvious signs of damage that may indicate a hardware issue.
- Update BIOS: If none of the above steps resolve the issue, consider updating the BIOS firmware to the latest version provided by the motherboard manufacturer. A BIOS update can address compatibility issues and improve system stability.
If you’re unable to resolve the no-display issue after following these steps, it may indicate a more serious hardware problem with the motherboard or other components. Consider consulting a professional technician or contacting the motherboard manufacturer’s support service for further assistance.

